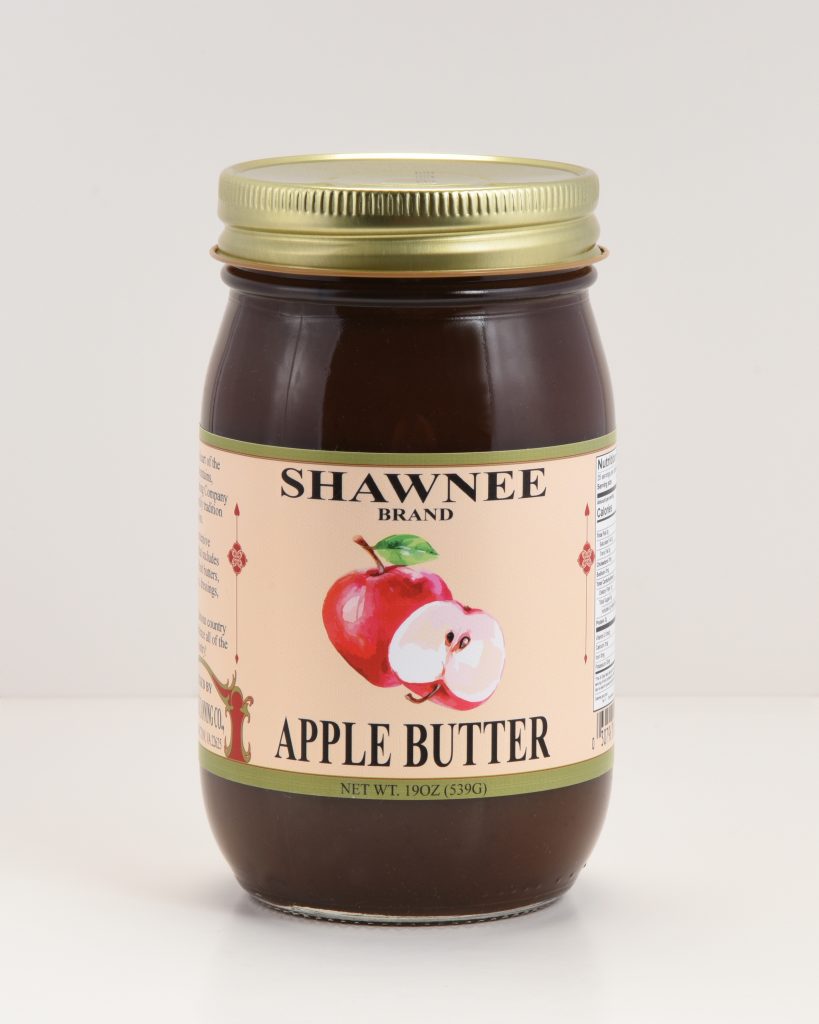
If you have never thought to toy with the incredible world of product photography – it is a great way to grow your business or help others grow theirs and using the tools you already have. You don’t need much to set up a basic DIY studio up quickly — and on a small budget. Here’s what you should prepare yourself with –
- A camera, obviously.
- A tripod for the camera; this is ideal in getting precise shots, at different angles, using slower shutter speeds.
- A white or contrasting background – poster board, wide roll paper can be purchased for relatively little at arts and craft stores. Or you may be lucky enough to have the right backgrounds on location.
- A white reflector, such as a white foam board.
- A transportable or folding table for your product placement in different natural lighting or background options.
- Duct tape
- Light source, a variety of options is preferable for amazing pictures. Bring light lamps, use window lighting, or any light that will illuminate your product appropriately.

Be sure to use a narrow aperture, which ensures your image will be the sharpest possible and have the least amount of digital static. To get the correct exposure for your shot with these settings, play with the intensity of the light and the shutter speeds.
At first keep your product in the center of the shot, take a variety of shots – play with the lighting, sharpness, placement. Do not delete any pictures until you have reviewed images on your computer with retouching and editing applications to enhance the shots.
After you repeat and retry the basic techniques, you can explore a whole world of photographic tricks that will really make your product pop out. But start out slow and acclimate yourself from the ground up.
